Baked Kale Recipe
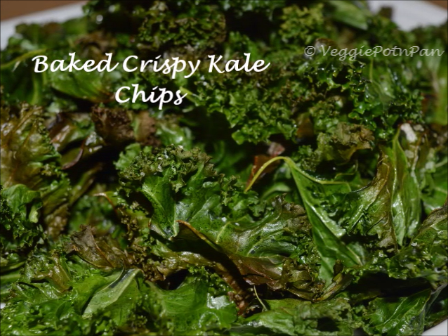
Baked Crispy Kale chips -not just the easiest snack that I have baked so far but is tasty and healthy too.
With lot of news and articles doing rounds about the harmful chemical ingredients that go into the simplest of the store purchased ready-to-eat food stuff, the best and the safest food is undoubtedly the home cooked food.
Unlike the common notion that cooking is something which working class don’t find time to do on a day to day basis, it is not the case… However busy we are, if we are concerned about our health we will find a way out – like cooking simple yet healthy dishes, using minimum ingredients yet resulting in something tasty, and so on.
Similarly, baking too is not difficult and baking certainly is not restricted to cookies and cake alone!!!
Kale chips is a blissful substitute to the normal store purchased chips… And considering its enormous health benefits and ease to bake, I would suggest that you must try your hand at it right away!!!
Other Kale recipes :
Vegan, Gluten-free, Sugar-free
Lets quickly look into the recipe :
Total Time: 25 minutes
Preparation Time: 10 minutes
Baking Time: 20 minutes (+ 5 minutes of cooling time)
Servings: 2
Ingredients:
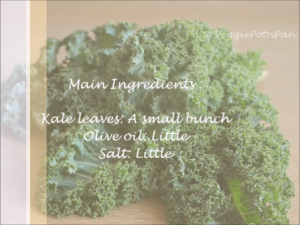
Kale leaves: A small bunch
Olive oil: Little (about 1 tsp.) (enough to coat the leaves)
Salt: Little
Method:
Quick Video : https://youtu.be/GsEznhTZCkc
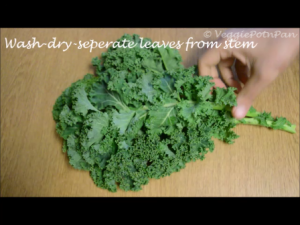
- Wash and thoroughly dry the kale leaves. Ensure that it is super dry and there is no water left in it
- Carefully remove leaves from the hard stem and keep aside
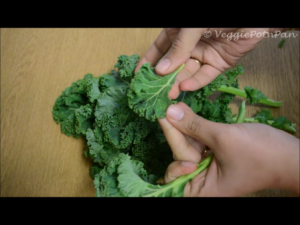
- Take the kale leaves in a bowl and add little olive oil and sprinkle little salt over it
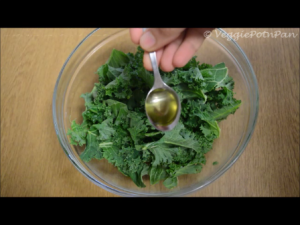
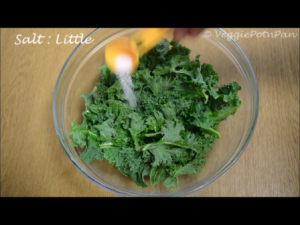
- Mix and toss the leaves so that all edges and surfaces of the leaves are covered with oil and salt evenly
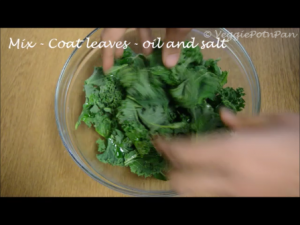
- Preheat the oven at 150 ° C
- Meanwhile, line the baking tray with baking sheet and spread the oil and salt coated kale leaves in it evenly
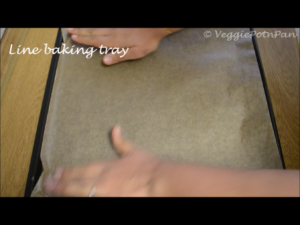
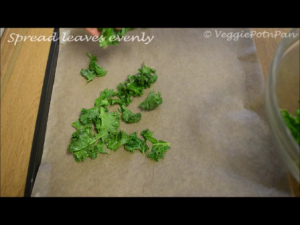
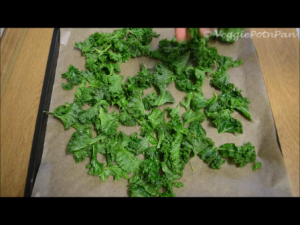
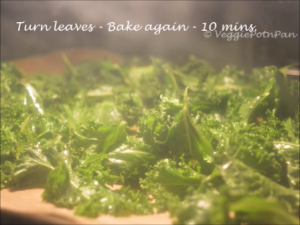
- Bake at 150 °C for about 10 minutes. Now turn the leaves and bake again for another 10 minutes
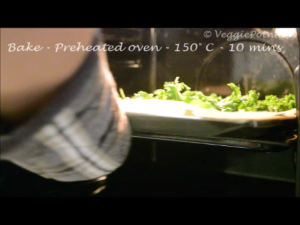
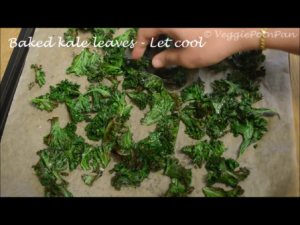
- Remove from the oven and let it cool !!! Probably, its time for you to arrange the coffee table / snack table and by the time you are back – Tadaa !!! The Crispy baked kale chips are ready to munch !!!
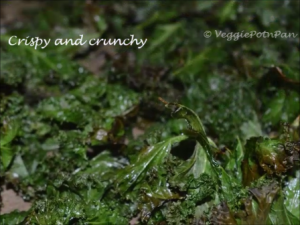
Yummm !!! I really love the crackling sound that it makes when you put it in your mouth and how the tongue senses the butter smooth taste of these chips ….
Serves as a perfect finger food while watching a movie !!! or on a picnic watching the sunset… or a kitty party…
Kids love this a lot and you can happily serve this to them, without any guilt !!!
Note :
- Ensure that the hard stems are removed and only the soft curly leaves are used while baking the kale chips. No, you need not discard the stem. I added it to the sambar and it does go really well with any veggie
- Ensure that the leaves are thoroughly dried after washing. Wet leaves result in soggy chips
- As far as possible, use only oil as the liquid ingredient. Any other liquid ingredient will lead to soggy chips
- To avoid burning the chips, bake at low temperatures
- Anything in excess is too much – be it oil, salt or heat
- The above recipe is the simplest and most basic kale chips recipe. Any day, you can dress it up to your heart’s content – with garlic powder or herbs. You may even use coconut oil in place of olive oil. Both taste equally good
Kale chips stories :
I am very fond of Kale leaves. As said earlier, I go to the weekly local market only to purchase a bagful of kale as this is not available in any of the nearby supermarkets here. The first time I bought it, I didn’t know what can be prepared. So, I went ahead with the traditional way of cooking – I used it in place of spinach in a North Indian style gravy and bingo, it came out really tastier. Then there was no stopping!!! I tried using this in spaghetti, vermicelli, upma and so on !!! Unlike other leaves, these are very stiff and local friends of mine, bake it for a perfect evening snack… So, I too went ahead and baked one… It came out really well the first time, but yes, the salt content was little more… I was careful the subsequent time and bingo, it came out really well !!!

Wow.. Can this be prepared with other leaves too?
Yes… you can… may be with Broccoli leaves or beetroot greens or the cabbage greens… do try it out and let me know 🙂